Thursday, January 31, 2013

Lemon & Rosemary Roast Chicken

I would assume this is still a staple in some households but I can not remember cooking it as an adult, ever. Not for any particular reason, as I love roast chicken and I love roasted vegetables but we grew up eating this, I want to say, every Sunday night.  Absolutely a staple in our house and it brings back wonderful memories. As I grew older and tall enough to stand by the stove, I was in charge of stirring the gravy, making sure I scrapped all the crusty 'good' bits off the bottom of the pan.  In the meantime there was always a lot of chaos going on behind me, as plates were being pulled out of the oven, vegetables were being served from the hot oven while others came steamed from the microwave. Dad always carefully carving up the chicken and providing everyone with their choice of white or dark meat, under the watchful eye of my brother - controlling portion size. This culinary dance in our relatively small kitchen was almost always followed by a blueberry pie being replaced in the oven. We couldn't devour our meal quick enough in anticipation of eating that hot pie with vanilla icecream.  

These days however, I married a guy who doesn't eat cooked fruit and so pie is all but a distant memory. What I wouldn't do for a Sunday night hot apple pie or blueberry pie or apple and rhubarb pie....hmmmm, that might be my next mission....get my children addicted to pie so he's out numbered!

Well, I thought it was just going to be me and the girls this evening so I wanted something relatively simple.  I grabbed a small chook from the local grocery store, threw it into a large ziploc bag with some garlic grapeseed oil, fresh rosemary, oregano, a good squeeze of lemon juice and a sprinkle of onion and garlic powder and gave it a good rub with salt and pepper. I let it absorb for a little while and then placed it on a rack over a baking tray, put half a lemon and two broken sticks of celery up the cavity and placed it into a hot oven for about 1 hr, 15mins. 

The aromas were delightful and the chicken was so moist and delicious, I was impressed that a simple roast chook could be as rewarding as this.  I didn't have anyone tall enough to help with the gravy and I didn't bother with roasting seven different types of vegetables like my parents used to but it was still a lovely trip down memory lane.  Chicken has never tasted so good.  As it turned out, my husband was home for dinner and he LOVED it.  Maybe it will return to our rotation as well in the near future.

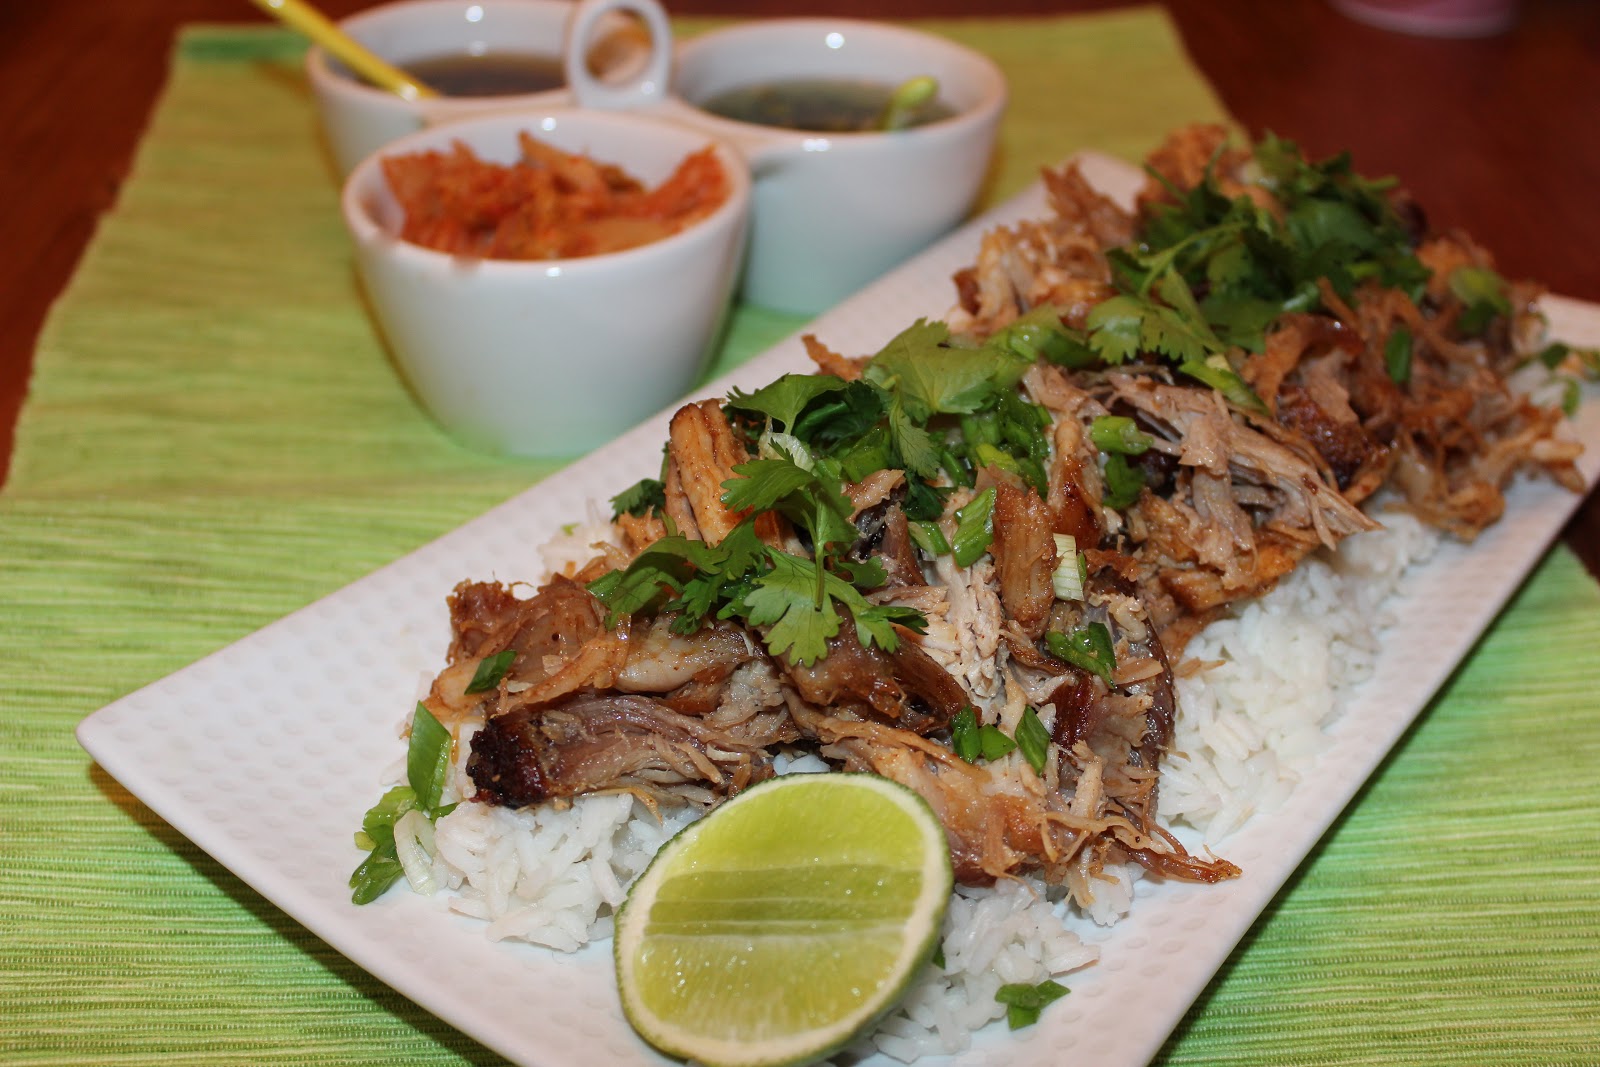
Apologizes for my photograph, I'm going to have to do this one again very shortly and update.  I wasn't really prepared for this to be blog worthy so I forgot to cross the poor chooks legs!  Here she is in all her glory, but you can see for yourself how delicious she looks! :)


Ingredients:
Whole chicken
oil, garlic grapeseed or EVOO
salt and pepper
juice of half lemon, and other half as wedges for cavity
rosemary and oregano
onion powder
garlic powder
celery, 2 sticks inside the cavity

Method:
  • Put all these ingredients into a large ziploc bag and allow flavors to marinade the chicken for up to 3hrs
  • When ready to bake, preheat oven to 425'F place chicken on a baking tray and cook for approx 1hr 15min.
  • I turned the oven down to 375'F after about 45mins, for the remainder of the cooking time 
  • Serve with gravy, roasted or steamed vegetables and definitely follow up with APPLE PIE! 


Wednesday, January 30, 2013

Warm winter kale salad

I'm a little behind the trend on this one. Not out of any anti-social position on my part but purely because I've never really stopped to take a look at kale and all it's super powers before.  It  truly is a super-food, one of those ones that is so good for you any which way you cook it.  According to webmd.com, 1 cup of kale has only 36 calories and 5grams of fibre and almost 15% of your daily requirements of calcium and vitamin B6.  Awesome right?!  Spinach is so yesterday.  

I am having one of those weeks where I am trying to kickstart my metabolism and shed a few pounds by Saturday night so salads were definitely on the menu this week.  I started off on Monday by roasting a bunch of vegetables so I could throw them in a salad whenever I felt like it and it has paid off because today was, Kale Day.  I picked up a great big bunch at the store earlier in the week although I had no idea what I was going to do with it, I knew it was going to be good for me if I ate it.  After a few chats to my more trend aware and health conscious friends I decided to give this a go.  Turned out really well and if this is what Kale is supposed to taste like, then I am a happy little girl.

I wasn't too interested in the crispy chilled version of kale and after a morning of solid snowfall I was dead keen on something warmer.  This warm, slightly wilted version was just the ticket for me. You could take or leave the bread but I had bought a beautiful french baguette this morning and it was still warm when I got home so it would have been criminal not to break a bit off.  


Ingredients:
extra virgin olive oil
garlic, crushed
1/4 onion, thinly sliced
beef or vegetable stock
kale, a bunch
walnuts
roasted butternut squash
roasted red peppers
goats cheese
sea salt and cracked pepper

Method:
  • heat a medium sized skillet and a good tablespoon of olive oil
  • add the onions and cook until translucent
  • add the garlic and when fragrant, throw in the roughly torn kale
  • add approx 1/4 cup stock,  I actually used some homemade mushroom stock only because it was leftover in my fridge, but beef would work just as awesomely. 
  • season with salt and pepper and place the lid on the skillet and cook until the kale is slightly wilted, about 4-5mins
  • take the lid off and cook until the stock has almost evaporated another minute or two
  • add your previously roasted squash and peppers and toss until warmed through.
  • dish up into a bowl and serve with some soft goats cheese or parmesan and a few crushed walnuts on top
  • I kept a little of the stock in my bowl today only because I had that lovely bread to dip in but I would probably serve it drained otherwise.  This was the perfect winter salad for me, I enjoyed every delicious mouthful.


Thursday, January 24, 2013

Chicken taco

Tortilla, burrito, soft taco... They're all the same thing aren't they, except for their size? Whatever you want to call it, I made this thing tonight using a flour tortilla and some totally yummy fresh flavor combinations and I call it 'fantastic'.  Fresh, light, fun and too easy.  You can easily reduce the pepper level for your kids but I didn't find this at all hot.


Ingredients:
Chicken and marinade:
2 chicken breasts, sliced
2 spring onions, sliced
2 fresh green chilis, finely diced
2 tblspn Mild jalapeño Green Pepper (Tabasco) sauce
2 tblspn garlic grapeseed oil
Salt and pepper
1 tspn Cayenne pepper (or more if you like)
Juice of 1 lime

Salsa:
2 Diced Roma tomatoes, deseeded
3 inches of cucumber, diced
Handful of fresh cilantro, roughly chopped
Salt and pepper
Squeeze of lemon juice, approx 1 tspn
2 tblpsn garlic grapeseed oil or good Extra Virgin Olive Oil

Optional added extras:
Avocado, sliced
Lettuce, shredded
Sour cream/yoghurt mix
Cholula Chipotle sauce
Cheese, grated
Flour tortillas

Method:

  • Slice your chicken breasts into strips and place them in a bowl, add all the other marinade ingredients to it and stir well to combine.  
  • Allow to marinade for up to 30mins, longer in the fridge if you have the time.
  • Prepare your salsa and then leave aside while you prepare your other condiments and cook your chicken.
  • The chicken would be gorgeous cooked on a BBQ or grill plate, I actually cooked it in a non stick skillet with a lid last night only because I wanted to keep it warm for hubby who was home late.
  • When ready, warm your tortilla, I did mine in the microwave for 20seconds between two sheets of paper towel but you can get fancy with that if you want and do it in a skillet - totally your call.
  • Build your taco, always put the cheese at the bottom if you're using it, then hot chicken, salsa and so on...  Devour. 


Wednesday, January 23, 2013

Olive Tapenade

Olive tapenade is so good on so many things.  I could go on forever with the ways I would eat this stuff but for now, I'll just say... make it and let it steer you in the right direction.  I eat it on toasted gourmet breads as an appetizer, spread over a lamb rack before rolling it in a herb crust, or just like I did today, dolloped on top of something delicious like a quiche or frittata.  This is a Jamie Oliver recipe from one of his earliest books "Return of the Naked Chef" and I never change a thing.  


Ingredients:
250g or 90z kalamata olives, deseeded 
1 clove garlic
6 anchovy fillets in oil
good extra virgin olive oil
sea salt and cracked pepper
juice of half a lemon 

Method:
  • Crush the olives using the side of the knife, pushing down to squash the olive against the seed allowing you to peel open the olive and remove the seed.  Do yourself a favor and buy the olives with seeds, and deseed them yourself.  Even with doing this job yourself, you can still have this tapenade made in less than 5 minutes.  These olives have such a different flavor to deseeded olives.  I wouldn't waste your time doing it with those, it'll taste so average you'll be disappointed you bothered. 
  • Using a mini processor, throw the halved olives into the processor, add all the other ingredients and process.  Add the oil gradually and continue to taste until it reaches your preferred consistency and flavor.  I used about half a lemon and probably about 3 tblpsn of oil but I like it quite thick.  Ensure you add a little salt, even though the olives themselves and anchovy are already salty, it adds something else to balance the lemon.  
  • Keep it in an air tight container for up to 10days in the fridge or make a double batch and use preserve jars and process for longer storage.
From left to right, whole olives; smashed olive;
halved with seed removed; the seed

Bacon, Mushroom and Spinach Frittata

A great light meal for the entire family.  I was a little optimistic about how many vegetables I could squeeze in this one, thinking that my girls had got SO much better they wouldn't mind.... well, they did. The combination of spinach AND mushrooms was just a little too much for them last night so it wasn't as big a success as it should have been.  If I had left out the spinach on their half they would have really enjoyed this.  Always a next time. 


As for Mark and I, we thoroughly enjoyed this frittata and I loved how easy it was. I didn't want to fuss with a pastry crust so the use of so many eggs meant it held together perfectly and was a breeze to dish up.  You could keep this as simple and egg and bacon if you want, or absolutely go to town and add kalamata olives, red peppers, potatoes or chili.  I actually made this latter combination for myself as an omelet while I was putting this together yesterday, and used up some pre-cooked cauliflower and sauté those with the bacon.  Delish.

Today I had last night's leftover slice with a small salad and I quickly made some olive tapenade to dollop on top.  I think I hit the jackpot.  It was divine, I might make a pie every monday and eat it all week.  


Family pie, 10" pie dish

Frittata:
5 eggs, beaten
1/4 cup heavy cream
1/4 cup milk
sea salt and cracked pepper
3-4 medium portabella mushrooms, sliced
1 clove garlic
1/2 red onion, diced
knob of butter
2 cups baby spinach leaves, wilted (and processed if preferred)
175g bacon, roughly chopped
1 tblpsn each of freshly chopped parsley, thyme and oregano
1/4 cup (or less) of shaved parmesan cheese
A handful of grated cheddar cheese

Method:
  • Prepare a deep pie dish by spraying with olive oil.
  • In a non stick pan, heat a little olive oil and add onion.  Fry off until soft and then add crushed garlic.  Toss until fragrant.  
  • Now add a small knob of butter and drop in the mushrooms.  Stir until cooked and the moisture has cooked out of them. Remove onion and mushroom mixture and place in the bottom of the pie dish
  • Add the bacon to the pan and cook until crispy. 
  • When cooked, drain on paper towel before adding to the pie dish
  • Finally add your spinach leaves and cook until wilted.  Add to your pie.
  • Chop your fresh herbs and sprinkle over the filling mixture
  • In a bowl, beat the eggs with cream, milk, salt and pepper.  
  • Pour the eggs over the pie filling and then top with a sprinkle of parmesan cheese and a little grated cheddar cheese.
  • Cook in a preheat oven at 350'F for approx 30mins, or until the egg is set and the top is golden brown


I actually cooked this during the day and then warmed it gently under foil for 10mins when we arrived home late after our evening activities.  My favorite super quick side salad of fresh spring leaves, shaved parmesan, toasted pine nuts and a few ripped olives with my own olive oil/balsamic dressing (see dressings) makes a delicious meal, for lunch or dinner.

NB.  I added this to my Vegetarian dishes as this could easily be made without bacon.  Although I am presuming you are the vegetarian types who eat eggs and cheese :)


Olive oil and balsamic dressing

People always ask me how I make this dressing.  I probably make it slightly differently every time as I never measure things out but if I were too, this is my preferred combination.

Makes 1/3 cup, so scale it up or down.  This would be plenty for a large bowl to share between 4-6 or for about 4 individual plates.

3 tblpsn good extra virgin olive oil
1 tblspn Walnut oil
1 tblspn Fig balsamic vinegar
1/2 tspn minced ginger
1/2 tspn sugar
1 tblpsn lemon juice
good amount of sea salt and cracked pepper

I often make this up in a larger batch and keep it on my counter top in a cute little glass pourer.... I find it encourages me to eat a salad for lunch instead of bread!

Sunday, January 20, 2013

"Momofuku"...caramelized pork butt

It seems I am having a slow start this year with my blog and perhaps I've given up. Ten days between posts is not ideal and given my last one was such a deviation from my philosophy and values I really need to make it up to you! I promise you, I have been busy... cooking but I am also working through a new business idea.  I will keep you in the dark until I work through whether or not it's actually going to be feasible, but I vow to keep posting my best recipes in the interim.  Here comes the latest discovery.... you're going to love me for this one. 

A long time lover of all Asian food, but a relatively new-comer to cooking this cut of pork... this dish made me sit up and take notice.  Our good friend Jojo served this as a light finish to Christmas Day after we had all had various versions of a traditional lunch earlier in the day.  It was absolutely mouthwatering and delicious and I was anxious to try it at home.

This recipe was posted in the NY Times in Jan 2012 but was adapted from "Momofuku" by David Change and Peter Meehan. As it was cooking I couldn't imagine the flavor would be enough from the simple salt and sugar rub I left it with overnight but the caramelization of the pork as it roasted was just perfect. I couldn't believe it was this easy.  You could eat this in a wrap, in lettuce shells as an appetizer or main, over rice or with noodles if you like.  Kids would definitely eat the shredded pork, the sauces are where the complex flavors and heat comes in.  I'm sure they would enjoy it with just a simple BBQ sauce in a bun or wrap. 

I went a little heavier on the chili in the ssam sauce and also added some fish sauce, lime and a dash of sugar to the scallion sauce but I will write this up as it was provided, that's just my personal taste.  Mark and I both thought this was a knock-out meal, definitely on our rotation for impressive meals as it was so light and fresh - it was killer. 


Ingredients:

Pork Butt
1 whole bone-in pork butt (8 to 10 pounds)
1 cup white sugar
1 cup plus 1 tblspn kosher salt
7 tblspn brown sugar

Ginger-Scallion Sauce:
2 1/2 cups thinly sliced spring onions, both green and white parts
1/2 cup peeled, minced fresh ginger
1/4 cup neutral oil like grapeseed.  
1 1/2 tspn light soy sauce
1 tspn sherry vinegar
1/2 tspn kosher salt, or to taste

* my adaption to this was I used part peanut oil in place of all grapeseed oil for extra flavor.  I added fish sauce, a squeeze of lime, a pinch of sugar and about 1/4 tspn of minced garlic and a little more soy to taste.  

Ssam Sauce:
2 tblspn fermented bean and chili paste (ssamjang or a black bean and chili paste)
1 tblpsn chili paste (or more to taste)
2 tblspn sherry vinegar (original recipe calls for 1/2 cup but it is WAY too sour for me)
1/2 cup grapeseed oil
1 fresh red chili, sliced (optional)

To serve:
White rice, cooked
3 heads of bibb lettuce, leaves separated, washed and dried
Kimchi, spicy (available in many Asian markets) 


Method:
  • To marinate the pork, combine the white sugar and salt in a bowl.  Rub this mixture all over the pork and place it in a shallow bowl, covering with cling wrap and into the refridgerator for at least 6hrs or overnight if possible.
  • Once ready to cook, preheat the oven to 300'F.
  • Take the pork from the fridge and drain any juices from the bowl.  
  • Place the pork in a deep roasting pan and into the oven for 5-6hrs, uncovered.
  • After the first hour, baste the pork in the pan juices and continue to do that every hour until fully cooked and almost falling away from the bone.
  • When cooked, remove from the oven and allow to rest if necessary.  
  • Prepare the sauces and your accompaniments
  • When almost ready to serve, turn the oven to 500'F and combine the brown sugar and remaining tablespoon of salt and rub all over the top of the cooked pork
  • Replace in the oven and allow to caramelize and turn a toasty golden brown, approximately 12-15mins
  • Remove from the oven and shred roughly using two forks.
  • Serve over rice as I have done here or within lettuce shells, smother in the various sauces and kimchi and rip up some fresh cilantro leaves... enjoy!  

Thursday, January 10, 2013

Southern Cornbread Pudding

I'm about to do something I swore to myself I would never do on this blog and that is to promote the use of a packet mix, but this small mysterious little box of 'jiffy cornbread mix' has just lured me in.  I vow to explore this new delight further when I have some more time on my hands and work out how to make this dish from scratch but for now, this version of throwing together a few tins and a packet works for me. It's cheap, takes all of three and half minutes to combine and will absolutely win over your toddlers and children.  I have to admit my husband and I couldn't get enough of it tonight!  Totally hit the spot.

I used non fat yoghurt instead of the suggested sour cream in an attempt to contain the calories but I don't think you'd be eating this if you were trying to do your body any favors.  Makes for a perfect supplement to your every day meal. We had it alongside a beautiful rack of lamb and steamed vegetables but down south you would  often find this under a bowl of chili or alongside Pork ribs.  This recipe came from allrecipes.com but as I said, I substituted yoghurt instead of cream and it was delicious.


Serves 4-6

Ingredients:
2 eggs
1 stick butter (112g) melted
1 tin corn kernels
1 tin of sweetened creamed corn
1 packet of "jiffy: America's favorite cornbread mix"
8oz non-fat greek yoghurt (approx 3/4 cup)

Method:
  • Preheat the oven to 350'F
  • Whisk the eggs in a large bowl
  • Add the melted butter, corn kernels and creamed corn and continue to whisk
  • Mix in the yoghurt and the add the packet of jiffy
  • Pour into a greased baking/brownie tray and bake for approx 1hr or until the top is golden brown
  • Serve with your choice of meal.... the list is endless.  

Wednesday, January 2, 2013

Mild Satay Sauce

I've made a few fabulous satay sauces from scratch but as you would know by now, I like my food spicy so this is a quick and easy recipe for the littlies. Sometimes when we have a marinade or sauce that is just too much for them I whip up this and it goes down really well.... of course, it tastes like peanut butter!  I use crunchy peanut butter and it gives a subtle flavor which hopefully introduces the kids to some of the Asian flavors and textures without scaring them off with heat.

If you wanted to make an extension for adults, I would suggest adding more of a store bought satay paste and definitely using coconut milk, but if you are wanting to make up something quick without opening a tin, just substitute greek yoghurt.  

Makes roughly 2/3 cup

Satay Sauce
1/3 cup crunchy peanut butter
1 tsp brown sugar
1 tblpsn dark soy sauce
2 tblpsn non fat plain greek yoghurt (or 1/4 cup coconut milk for a more authentic flavor)
1/2 tspn red pepper flakes (or a 1/2 tspn of Rolands satay sauce)
2 tblpsn water, if needed

Mix ingredients together well over a low heat (or in a microwave safe bowl) and serve the satay sauce warm as a dipping sauce or over grilled chicken or beef.

Harissa Chicken Skewers with Cucumber Raita

A simple 3 ingredient dish which will amaze you.  Both in how low calorie it is and in flavor.  I guess you could do this with almost any combination of spice rub you like however the middle eastern Harissa is a lovely complex spice and works so well in this dish.  I saw Matt Moran make this on his masterclass episode of the Australian Masterchef a few years ago and have used it ever since.  I used two chicken breasts for our meal but I did syphon off a few skewers for the girls before adding our marinade.  I made them a quick, simple satay sauce.  See here for recipe. http://whatsfordinner-mum.blogspot.com/2013/01/mild-satay-sauce.html


Makes 12-14 small skewers
approx 45 calories per stick

Ingredients:
1 tspn Hot Harissa spice
1/2 cup non fat plain greek yoghurt
2 Chicken breast or 500g boneless thigh meat, sliced in strips

Method:
  • Soak your skewers in water while you prepare your chicken
  • Mix the yoghurt and harissa together in a bowl and put half of it into a shallow dish
  • Thread your chicken onto skewers and place into the dish.
  • Add the remaining yoghurt marinade over it and using a spoon, ensure all the pieces of chicken are well covered.

  • Allow to marinade in the refridgerator for at least 30mins ideally up to 2 hrs.
  • When ready, for best results heat a grill pan, or bbq and cook chicken 3-4mins on each side or until cooked.  You could always cook them in the oven if you wanted to, just make sure you give them enough space so they don't stew.
  • Serve with cucumber raita, rice or salad.

Cucumber raita:
non fat plain greek yoghurt
2-3 inch section cucumber, grated or use a mini processor
cilantro, chopped
squeeze of lemon juice
1/2 tspn ground cumin
1/2 tspn ground coriander
sea salt and pepper

Put the cucumber in the mini processor and blend. Add lemon juice, yoghurt, herbs and spices and blend again.  Adjust seasoning if necessary.